These days, if you want to code a game for the original Nintendo Entertainment System, it’s about as easy as downloading an assembler, firing up Notepad, and running the ROMs you cook up in any one of a variety of emulators. In the 1980s none of those things existed, and the process was a little more complicated – as demonstrated by [Tyler Barnes] in the video embedded below.
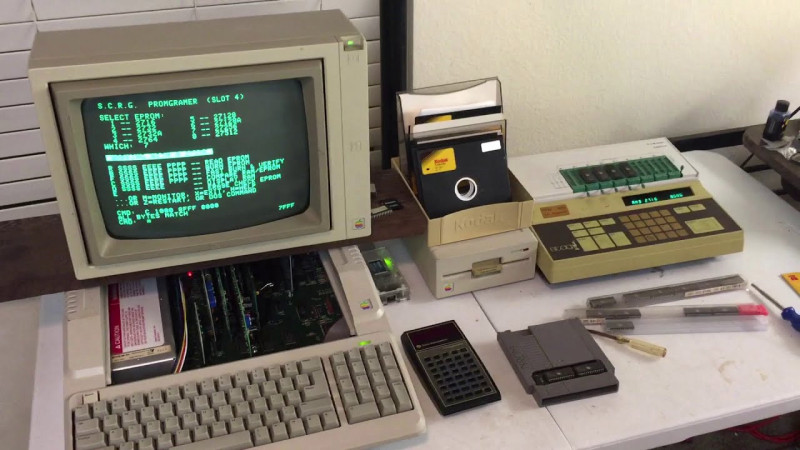
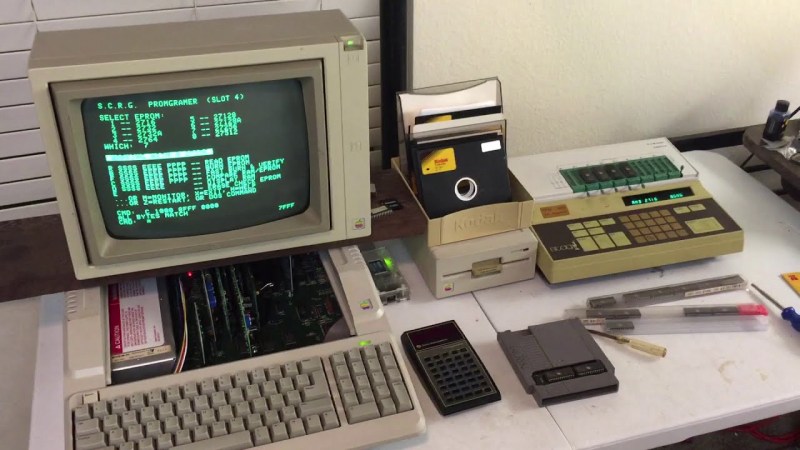
[Tyler] has put together a 40-minute guide on what it takes to get to “Hello World” – or more accurately, a simple pink screen – on the NES, using period-correct hardware. He starts the process by formatting some floppy disks and whipping up some basic assembly code on an Apple IIe, which gets run through the Merlin assembler for the 6502. It’s particularly convenient as the Apple II line and the NES both run the same CPU. From there it’s a case of using a standalone EPROM programmer to verify some appropriately-datecoded chips are empty, before programming them in a special add-on card for the Apple II. From there, the EPROMs are loaded into a cart custom modified with chip sockets, where it can be inserted into a NES for testing.
It’s a tedious process, with just the programming side of things taking on the order of ten to twenty minutes with a few fiddly steps along the way. While there are likely some efficiency gains to be had that were used by studios back in the day, it remains clear that development in this era was a much slower process.
Of course, if you prefer your Nintendo homebrew a couple generations hence, consider getting stuck in on the Nintendo 64. Video after the break.
[Thanks to Alex McAlpine for the tip!]
Recent Comments